Automating Java Web Application Deployment with Jenkins: A Step-by-Step Guide for Beginners
Introduction
In the last article, we learned how to manually deploy a Java web application to Tomcat by copying the .war file from the project’s target directory into the webapps folder inside Tomcat. While this works, doing it manually every time can be time-consuming and prone to mistakes.
In this article, we’ll automate the deployment process using Jenkins, a popular automation tool. Jenkins allows us to set up jobs that handle repetitive tasks, like building and deploying applications, with just a click of a button. By the end of this guide, you’ll know how to use Jenkins to deploy your Java web application to a local Tomcat server without any manual steps.
Prerequisites
Before we get started, make sure you have the following set up:
Java JDK
- Ensure Java is installed and configured on your system.
- You can verify this by running the command: java -version
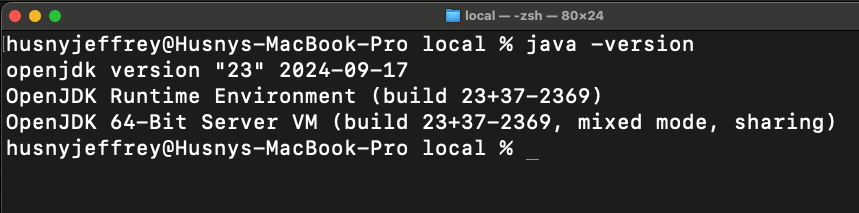
java -version
Maven
- Maven is required to build the project and generate the .war file.
- You can verify this by running the command: mvn -version
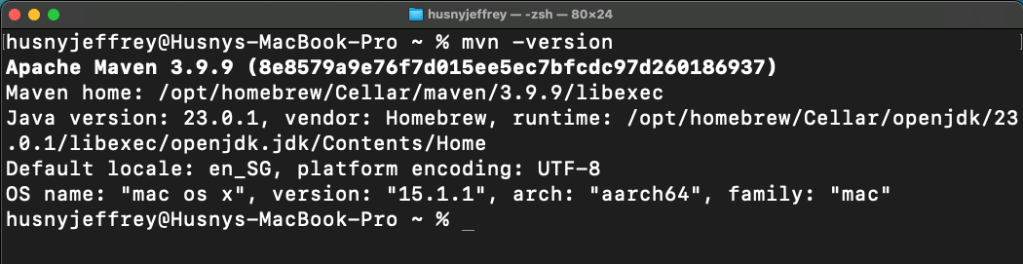
mvn -version
Apache Tomcat
- Download and set up Tomcat.
- If you’re unfamiliar with this, refer to the previous article for detailed steps on downloading and configuring Apache Tomcat.
- Ensure Tomcat is running locally and accessible at http://localhost:8080.
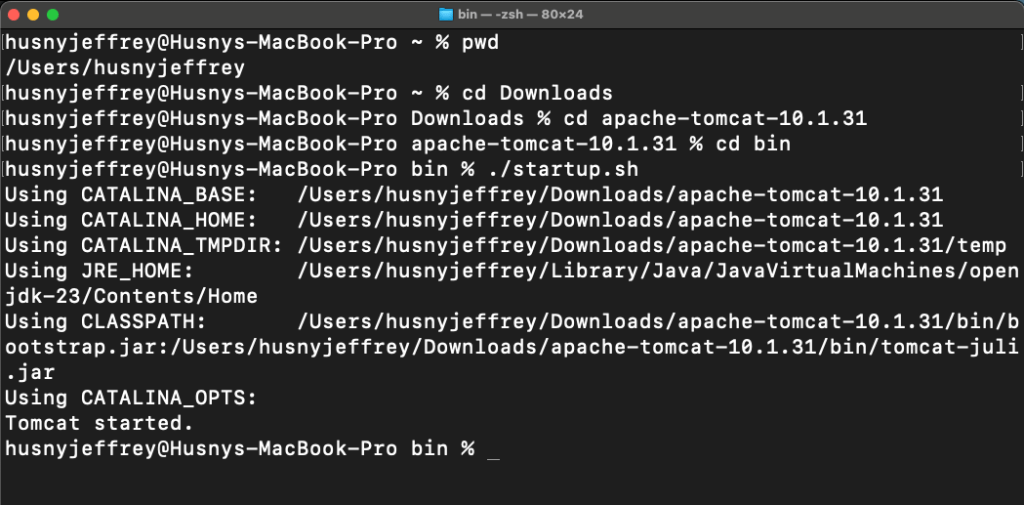
Start Tomcat Server
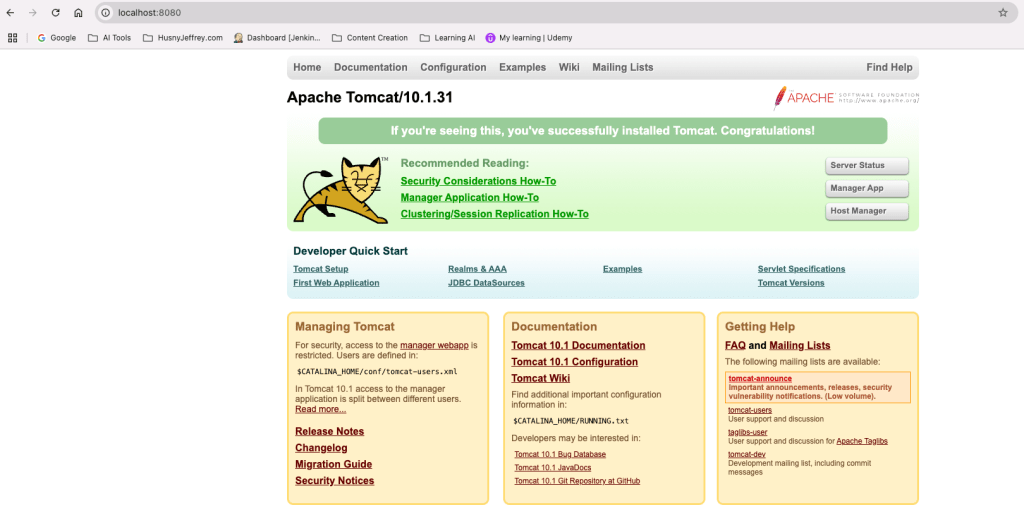
Tomcat Started
A Java project to deploy (or a simple pre-built project)
- Sample Project: https://github.com/husnyjiffry/DevOpsGuy
Jenkins Installation
- We’ll install Jenkins in the next section, so no setup is required yet.
Step 1: Installing Jenkins on Mac
Since Tomcat is using port 8080, we will configure Jenkins to run on a different port during installation.
Update Homebrew
-
- Open the terminal on your Mac.
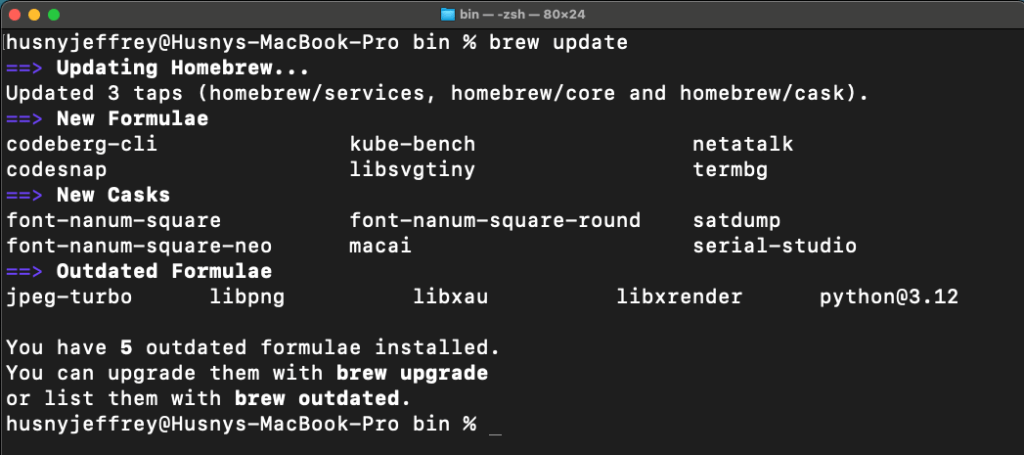
- Update Homebrew to ensure you have the latest version and formulae: brew update
Install Jenkins Using Homebrew
-
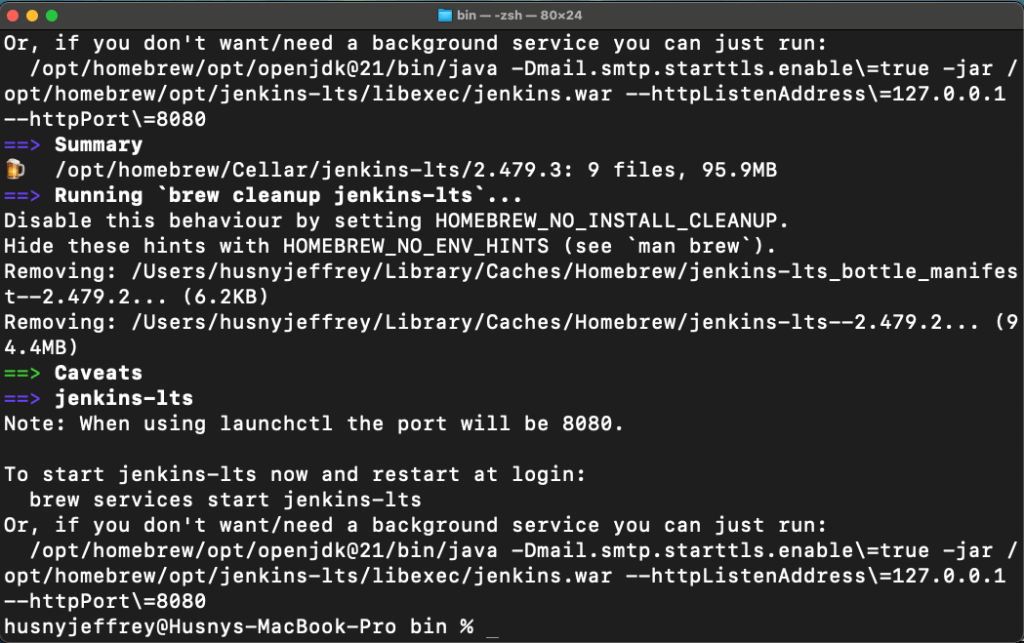
- Install Jenkins via Homebrew with the following command: brew install jenkins-lts
Start the Jenkins Service in a different port (8081)
- By default, Jenkins runs on port 8080, which conflicts with Tomcat. To change this temporaly, follow the next steps.
- jenkins-lts —httpPort=8081
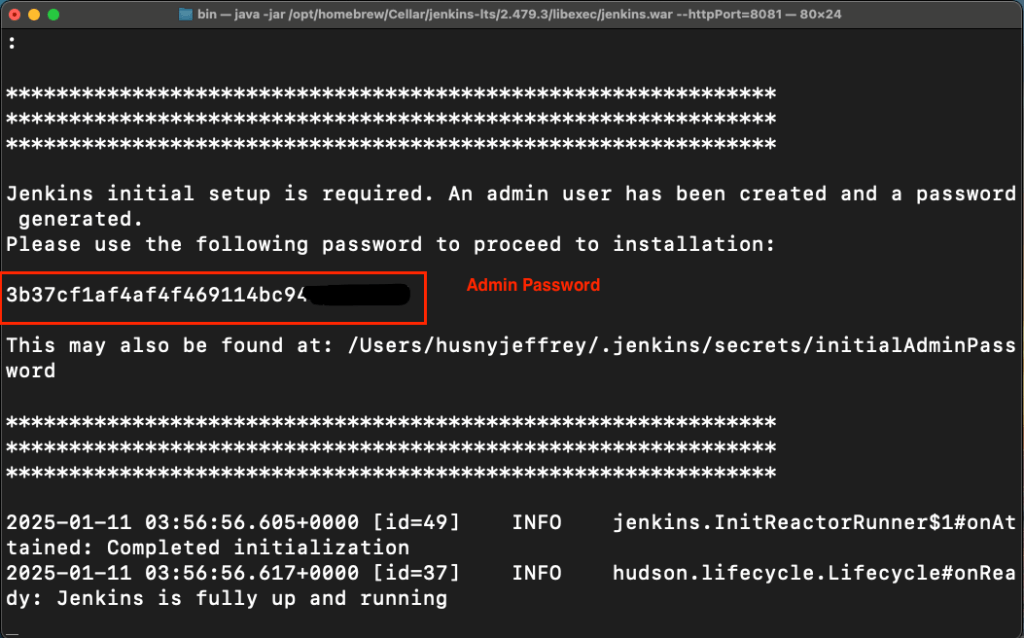
Jenkins Started
Usual Commands to Start and Stop Jenkins on the default port (8080)
- brew services start jenkins-lts
- brew services stop jenkins-lts
Access Jenkins
-
- Open your browser and navigate to: http://localhost:8081
- You’ll see the Jenkins setup screen.
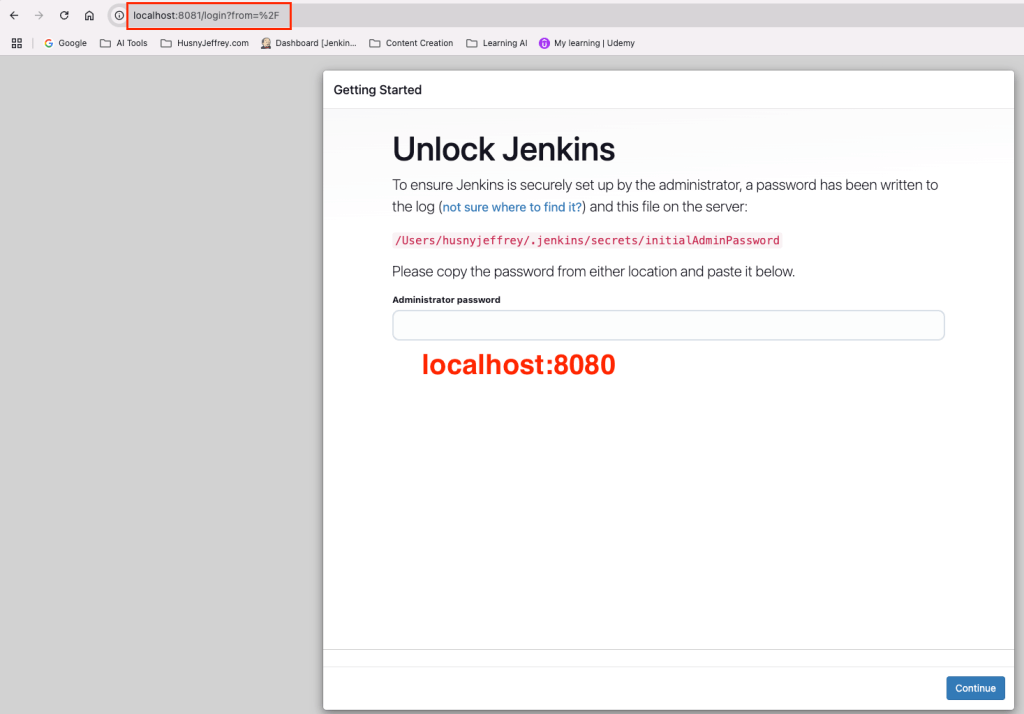
Enter Admin Password & Unlock
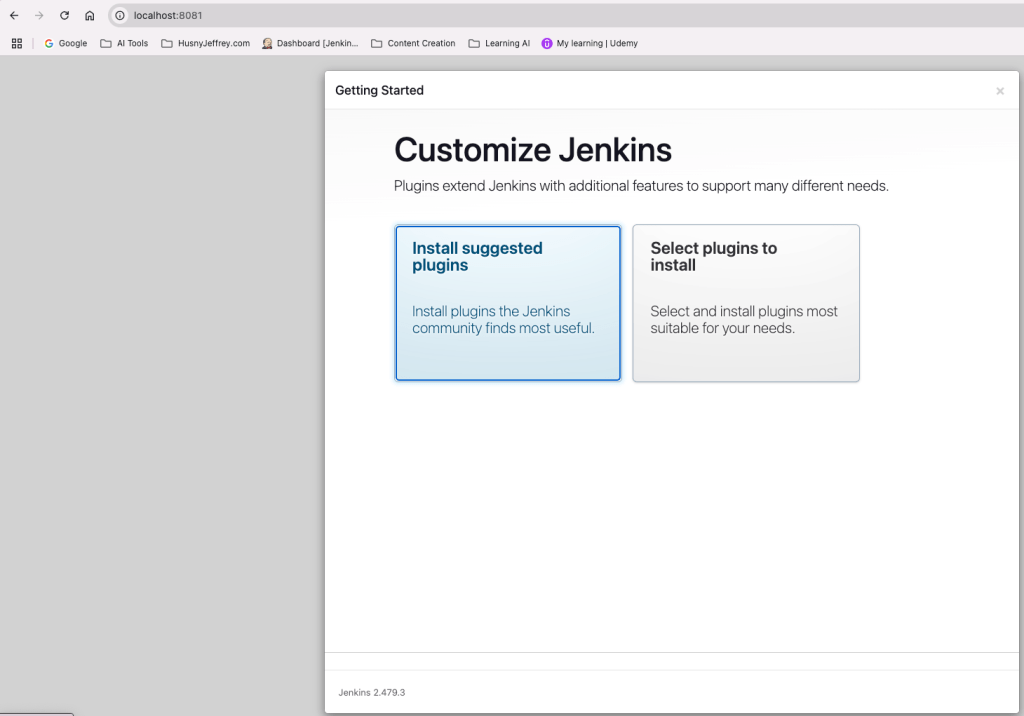
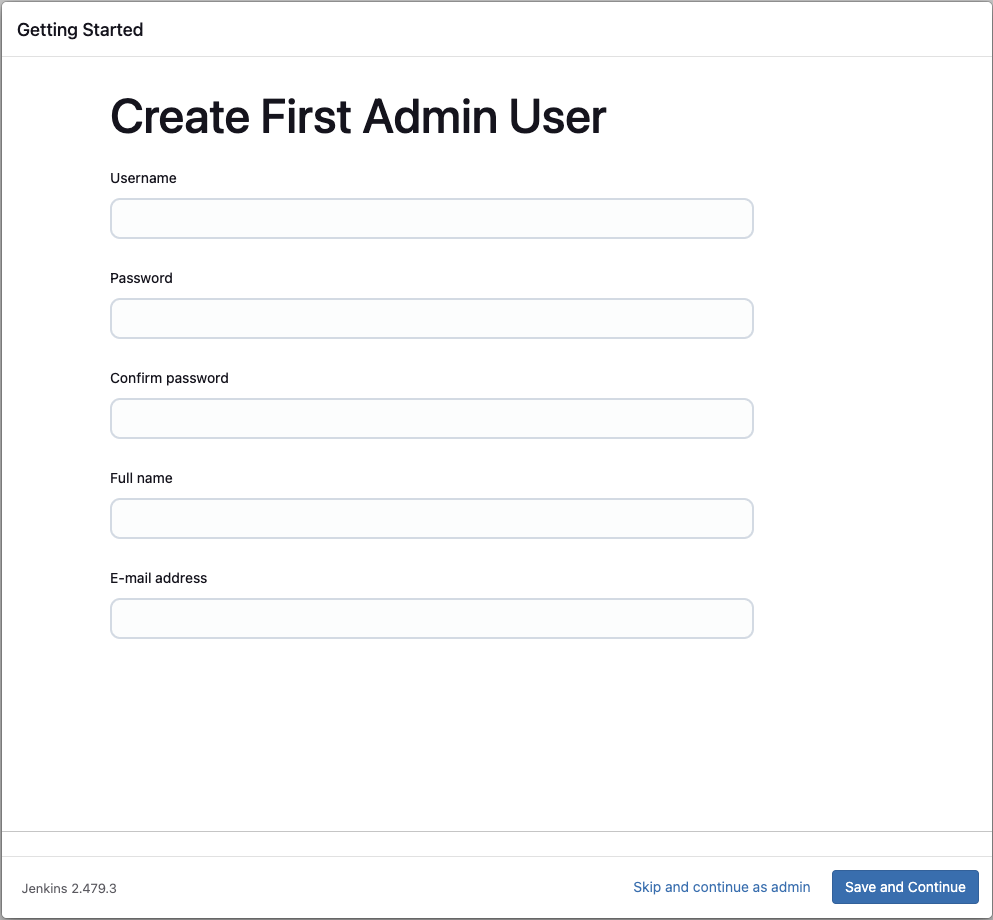
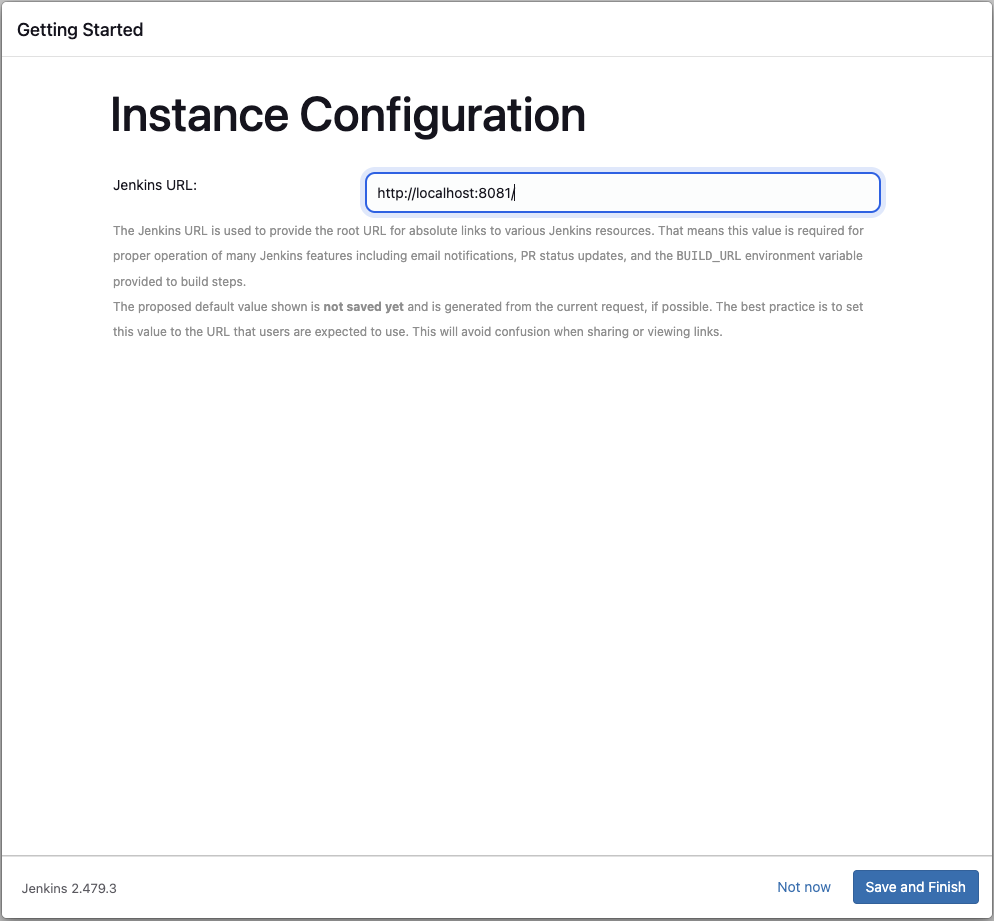
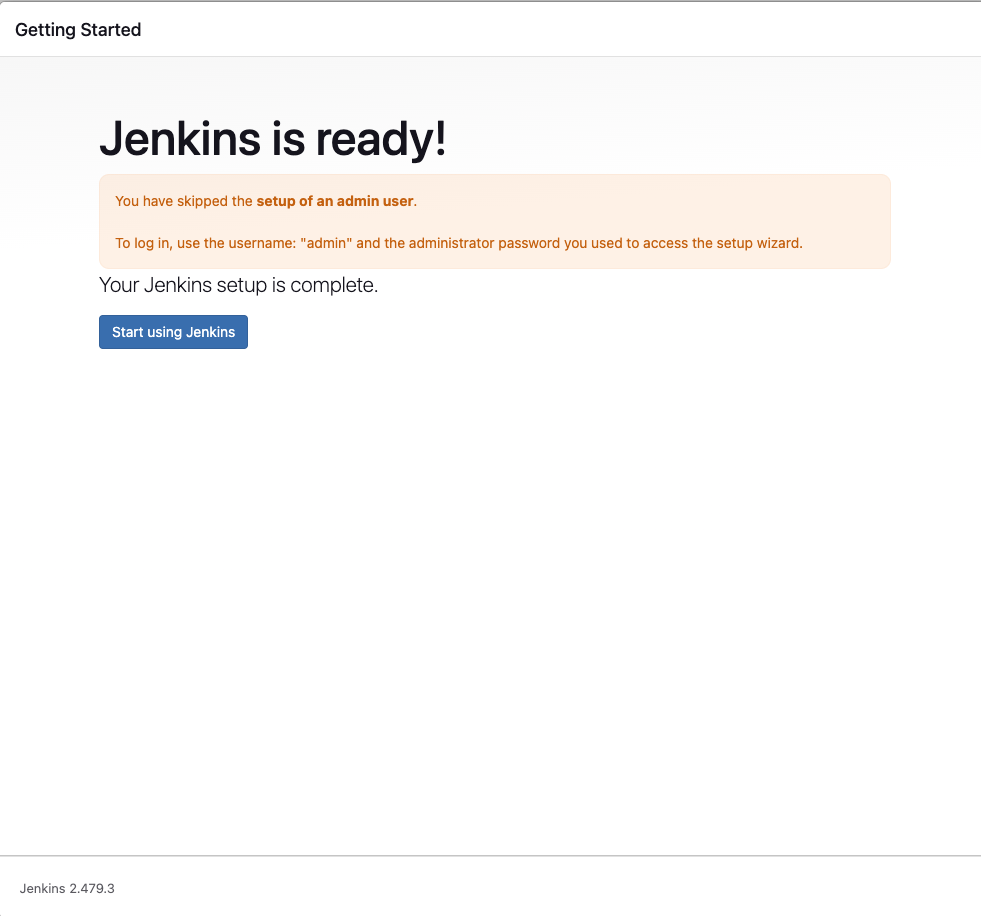
Complete Setup
- Setup and username and password if needed.
- For now, I skip and continue as the admin
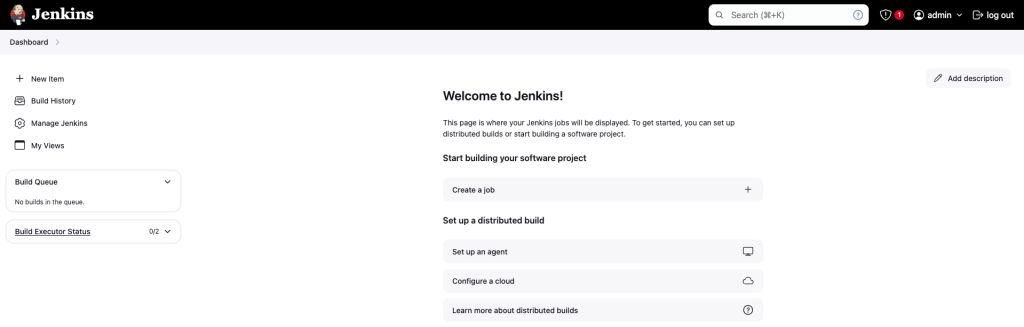
Step 02: Create A New Project in Jenkins
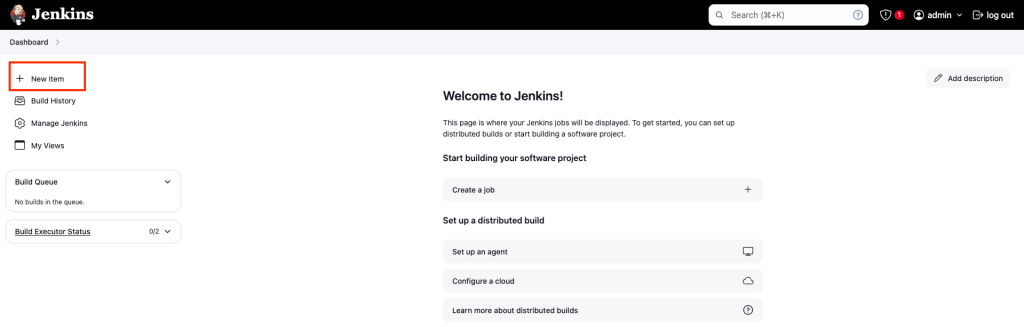
- Click on New Item
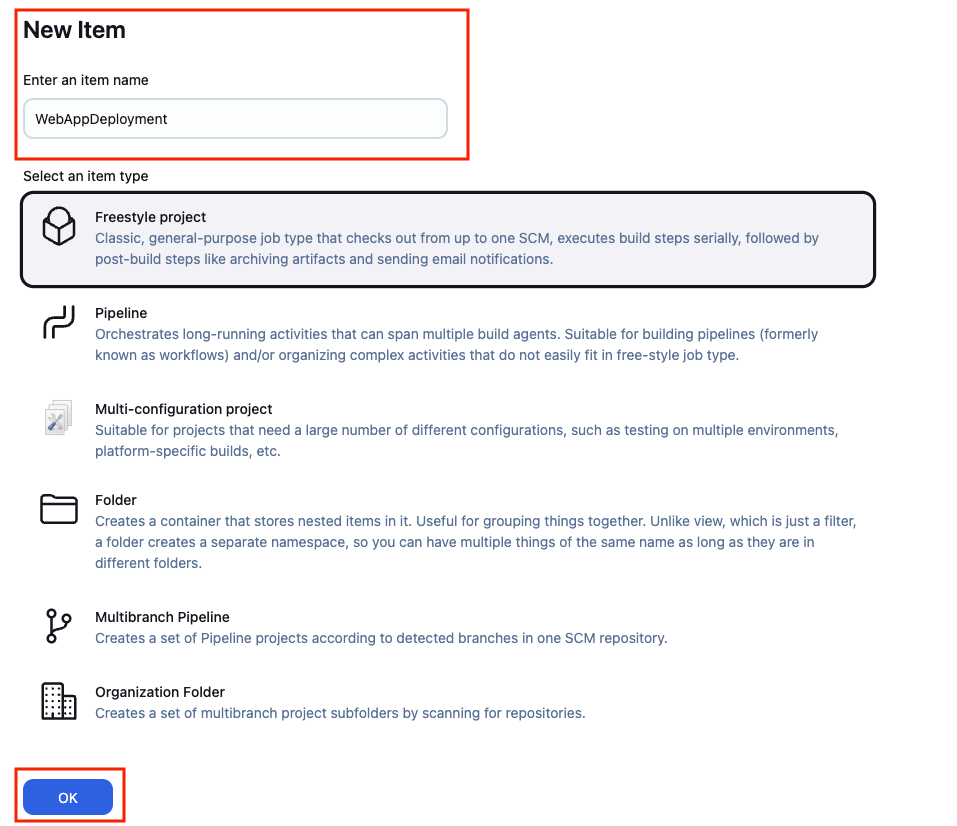
- Enter and name and create a freestyle project
What Are We Trying to Achieve?
Now that we’ve set up Jenkins and created a project let’s focus on the steps we’re automating.
In our previous article, we manually:
- Pulled the code from a Git repository.
- Built the project to generate a .war file in the target directory.
- Copied the .war file to the webapps folder in Tomcat and started the server
In this article, we’ll achieve the same process, but Jenkins will handle it for us automatically.
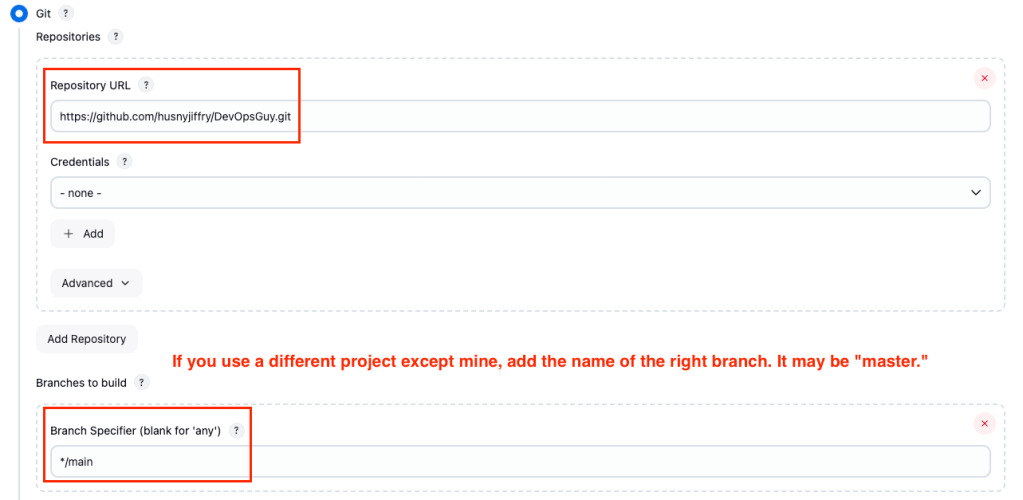
Step 03: Configure the Jenkins project to pull the code from Git.
Step 04: Add build step to Generate .war file
Add a build step to compile the project and generate the .war file.
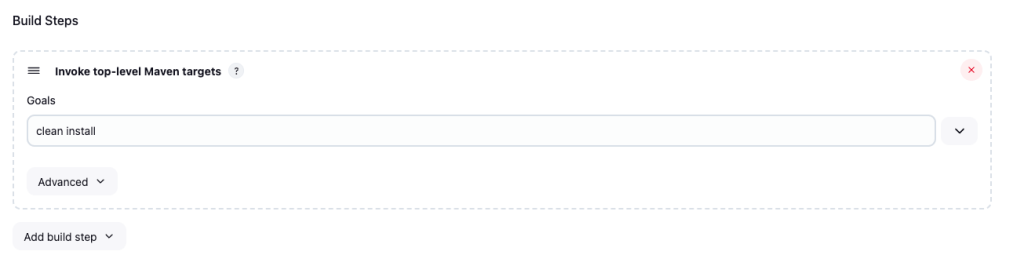
Once you have done this, a .war file will be generated.
Note: If the “Invoke top-level Maven targets” Option is Missing
If you don’t see the “Invoke Maven Targets” option under the build step, it means the Maven Integration plugin is not installed. Follow these steps to install it:
- Go to Manage Jenkins > Manage Plugins.
- Search for “Maven Integration” under the Available tab.
- Select the plugin and click Install without restart.
- Once installed, return to your project configuration and try adding the build step again.
Step 05: add build step to Copy the .war file to tomcat
Add a build step to copy the .war file to Tomcat’s webapps folder.
I have selected “Execute shell” because I am using a Macbook. However, if you are trying with a windows machine, select the “Execute Windows batch command” option .
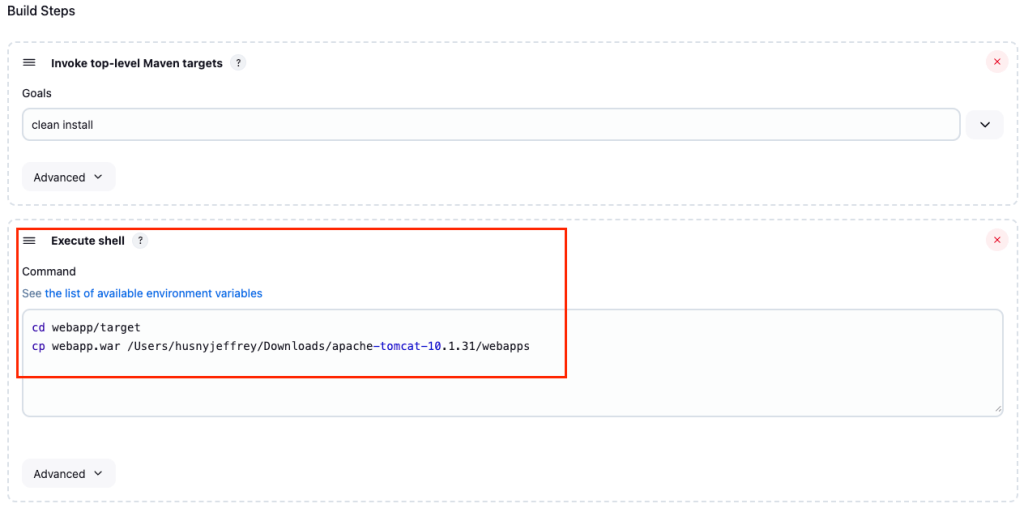
Once you have added all of these, just click on the Apply button and save.
Step 06: Build the Jenkins Job
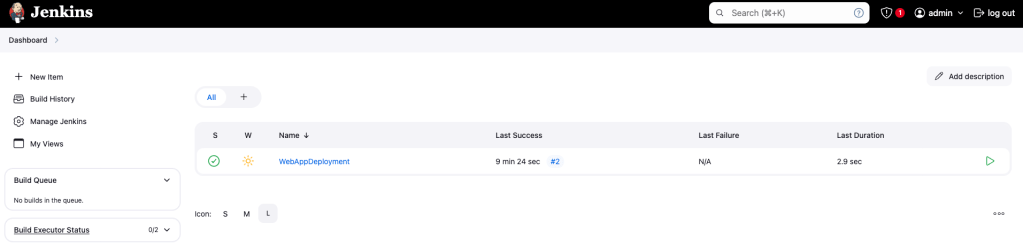
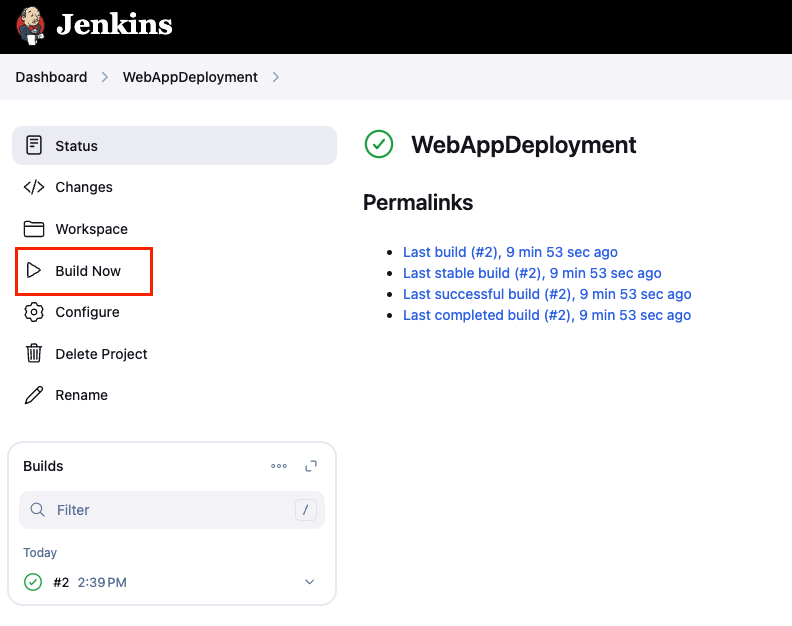
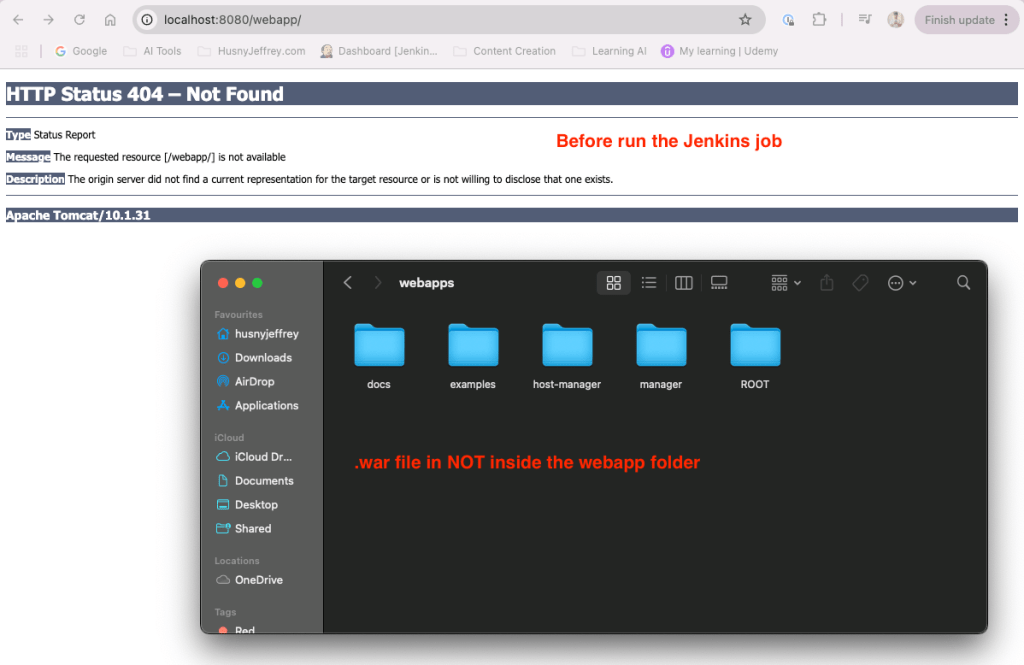
Before Run the Jenkins Job
Step 06: Verify the build status
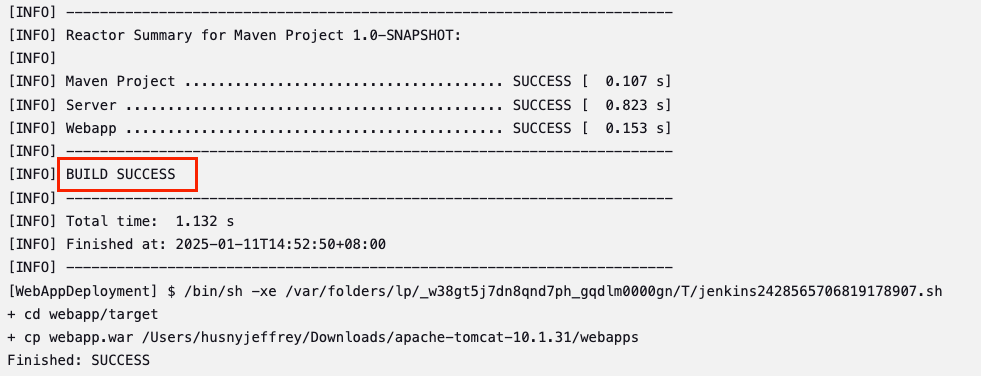
Console Output
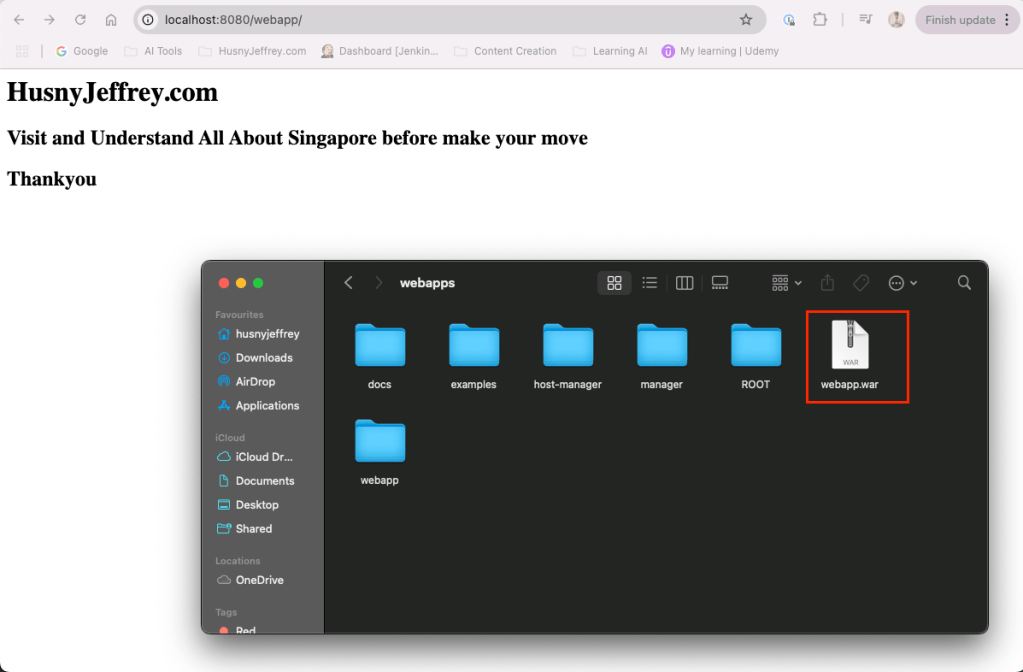
After Run the Jenkins Job
What we did manually in the previous article, copying the .war file and placing it in the Tomcat webapps folder, we have now automated using Jenkins. Every time a developer makes a change and pushes the code, you can simply open Jenkins, run the job, and the latest changes will be deployed to Tomcat automatically. This saves time and ensures a smoother deployment process.
This is just the first step in automating the deployment process. With DevOps tools like Jenkins, there is much more you can achieve, such as integrating automated testing, continuous deployment, and monitoring systems to make your software delivery pipeline more efficient.
That’s it for today, guys. Thank You for Reading! I hope you found this article informative and useful.
If you think it could benefit others, please share it on your social media networks with friends and family who might also appreciate it.